Greeting

 
These pages stem from the start of my loft modelling odyssey up to the great Covid 19 lockdown enforced upon me.  
 
News of developments from 2021 onwards to be found here.  

My Musical Adventures - My other hobby - only for the brave: https://barrykingsbeer.bandcamp.com/releases

Monday, 25 November 2019

Super-detailing an old Pola Blacksmith's Barn kit - 2


I've been working on the machinery for the foundry and other internal details.  I plan to add led fire to both heat sources.
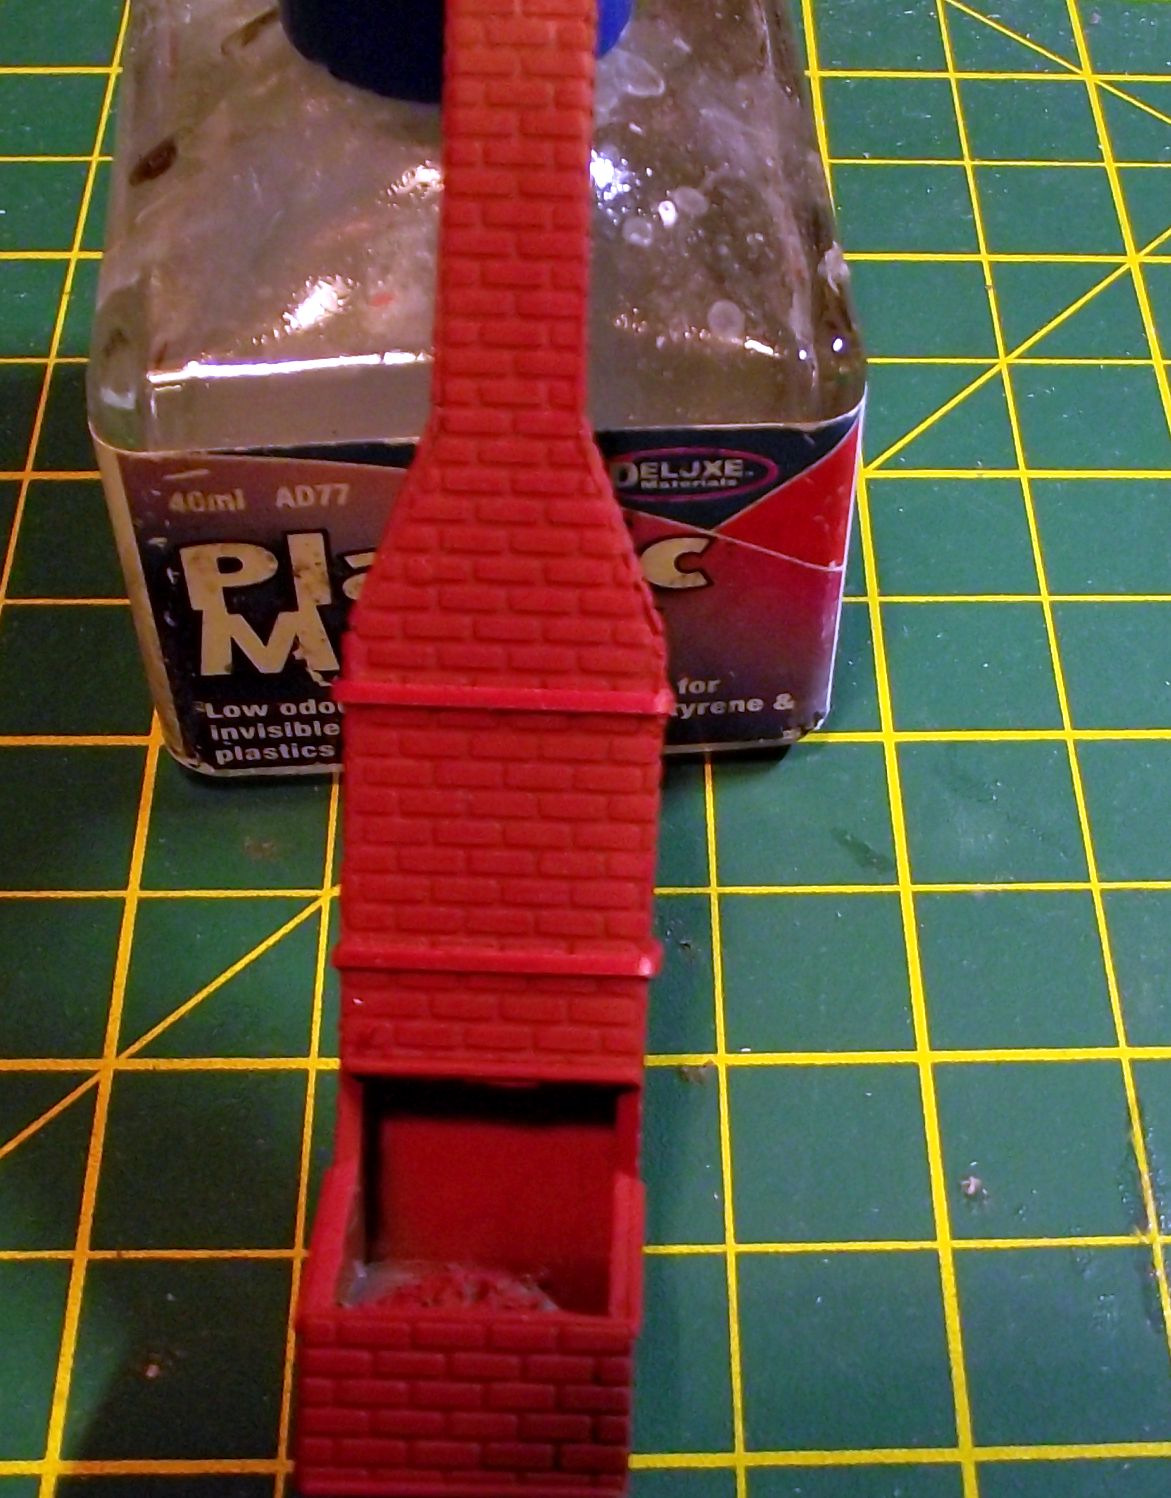

The smithing hearth. Once glued together, needing four hands, I wrapped styrene re-inforcing bands around the chimney and painted with red primer. The coal pile has been drilled to allow red light through.

I painted the bricks to represent blue engineering brick, the picture is a bit vague.

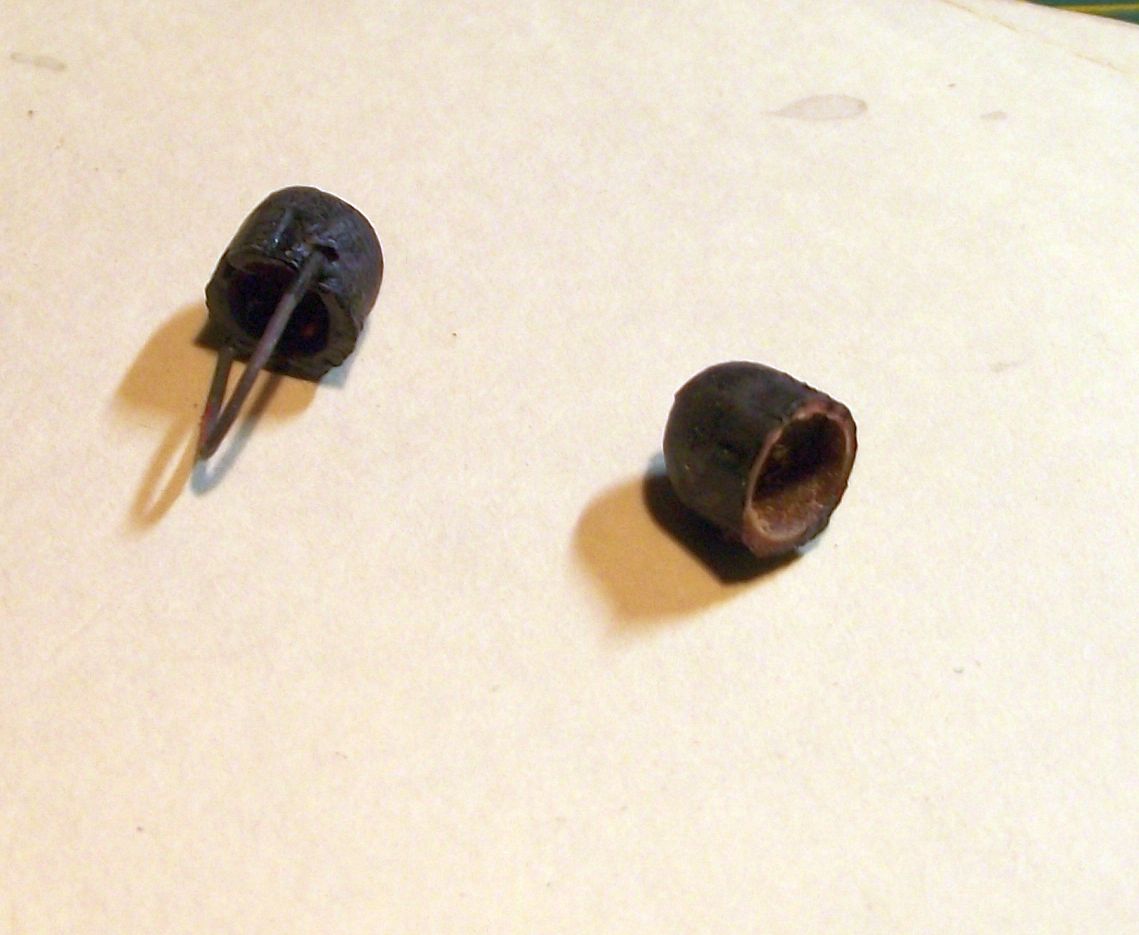
I made two crucibles for the furnace from the rounded ends of some thick sprue. I hollowed them out. One is fitted with a handle, the other is a "spare".

Painted and suitably clagged up with slag (Bi-carb)

Hearth and the start of a steamhammer from plastic scraps.

Steamhammer nearing completion.

A tiny hook to carry the crucible to the furnace.


The interior - so far.

Board and batten siding

A neighbour who sculpts wargaming figures gave me a load of Evergreen styrene shapes recently and luckily there were some 1/2mm strips just the right size for the battens.  Fitting them retrospectively was tedious and fiddly but worth the end result.
The detrained loco will provide steam to power the foundry machines.

Through the looking glass.

Tuesday, 19 November 2019

Super-detailing an old Pola Blacksmith's Barn kit

The kit 


I bought this kit on Ebay for the opening price of just £1.50. The postage cost twice as much! Made in Germany by Pola it was branded Tyco, AHM also marketed this kit as their own. I find that there isn't a great demand for these old plastic kits over here so a bargain can be found now and then. I should think it's about thirty years old but in top condition.  The casting quality on these kits is always good, although there are numerous ejector stud marks to deal with. The styrene is quite fibrous and needs a bit of work to get a clean surface when removing thickness on parts.  The one glaring fault is the gap between the wavy edge cladding boards, it's been bugging me and I've just had a barinwave (typo) or is that a Barry brainwave? I will add wood or plastic strips to make it board and batten and cover the toylike gaps.

The trickiest part of construction is joining the four walls, they are simply chamfered 45 degrees with no locator pins so must be positioned carefully.  My go-to styrene cement is Plastic Magic as it doesn't mar the surface or paint due to its fast evaporation.  I had to resort to a MEK type solvent as the PM didn't bond too well with this plastic. I have also used ACC on some joints.  I saw this as a potential small metal foundry/ironworks to service the mines around Cuspidor so set to.
I discarded the base, saving the planked area for other projects.

The Build

I decided to go the whole hog and detail the interior. As the roof is so low and the only viewpoint would be from the front doors I started by sanding the insides of the main walls, then I scribed them to roughly match the size of the external board detail.  


A brush with acrylic grey/tan

Next came the exterior walls. I sprayed them with rattle can red primer and roughly drybrushed some white acrylic over for starters.


Sorry but I've been doing this while down with the worst cold/cough illness I've had in years and lost the will to stop working to photograph progress. Basically it entailed assembling the walls, fitting a new floor with Evergreen sidewalk  sheet as I can't see a foundry with wooden floors and figuring out what to do next.  I removed the rear shed/extension (outlined on the above pic) as I wanted to create a largeish furnace at the back. There is a small, brick blacksmith's hearth that comes with the kit which I will install too with LED flames. I assembled three stone walls from old plaster wall castings I'd made a while back, covered it with plaster brick and added a resin chimney, which I built plaster stone around.  I kept the piece hollow and painted it black. I'm thinking of adding LED flames here as well.

Carving to be done.


Next I cut out a hole in the rear wall where the furnace will live and made a front wall from stone to go inside.

Firewall glued in.

A bit of painting later and the addition of a support tie around the furnace and it will be ready to be attached when the time comes.


Support girder with ties and an access door that needs blackening made from the hanging sign that came with the kit. It needs a lock too.

Next I had to come up with some sort of mechanism to deal with moving the hot metal from the furnace so with a bit of grinding and some plastic girder, here is my Heath-Robinson tackle.  I have much more to work out and the possibilities for detail are good .  As my knowledge of founding is scant, this is how we do it in Cuspidor!


Friday, 8 November 2019

Backscene woes

After two tries with purchasing and fitting rather expensive vinyl backscenes from a US producer, one with self adhesive and one without, I finally ripped the damned thing off the wall and binned it.  The second version was laid on new, flat hardboard and rolled perfectly flat. The result was incurable bubbling yet again.  I am looking at an inexpensive, plain sky scene to replace it but the deepest I can find is only 15" and the backdrop is 24".  Oh well....

Thursday, 10 October 2019

Trail's End - another microscene

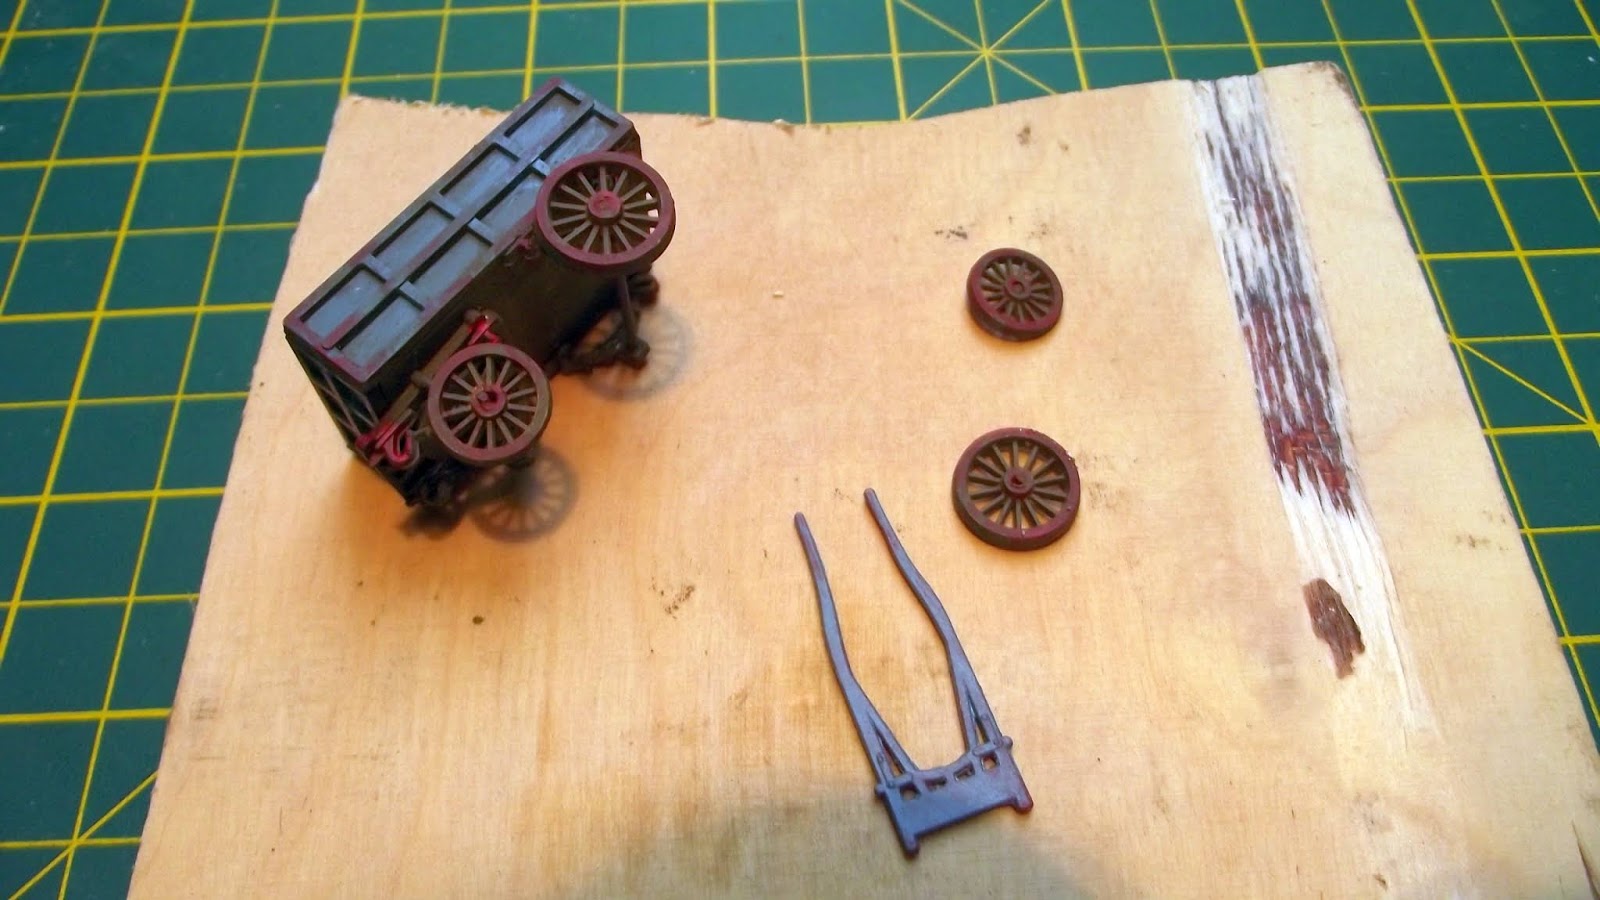
While sorting all my bits and pieces I came across an old plastic model of a cart. I felt this could be the basis of a little scenic interlude so pulled out a small piece of plywood and set to. I had a bit of car body filler going spare so did a bit of quick terraforming and then set to work giving the ground some basic cover. The rest is pretty self explanatory - just working in ground foam, rocks and plants etc.


The plywood base and the cart bits


Basic ground cover with a suggestion of an old carriage road

The finished article.


Monday, 7 October 2019

Attention to detail......

A bit like Mr Sellios I tend to use up detail castings etc at a rate of knots. For years my unfinished details have been nagging at me to attend to them and being limited by my wrist issues I decided to kill a few birds with one stone.
  1. Unearth all those bits of scrap that can be made into industrial clutter and empty all my little boxes and bags with castings/unfinished small kits etc.
  2. Clean up, assemble, prime and paint and store them all where I can get at them easily.
  3. This frees up no end of space for completed details, bulks up my usable details boxes and makes me feel better.
Result!

The first tranche gets the primer treatment

Barrels, sack trucks, luggage etc
Mainly plastic odds and ends and kit bits


Friday, 4 October 2019

Detailed microscene

With an hour to spare and idle hands I decided to make a miniature scene with as much unpaid for scrap as I could.  I found a picture on Google images that said "Do it" so I used that as inspiration. 
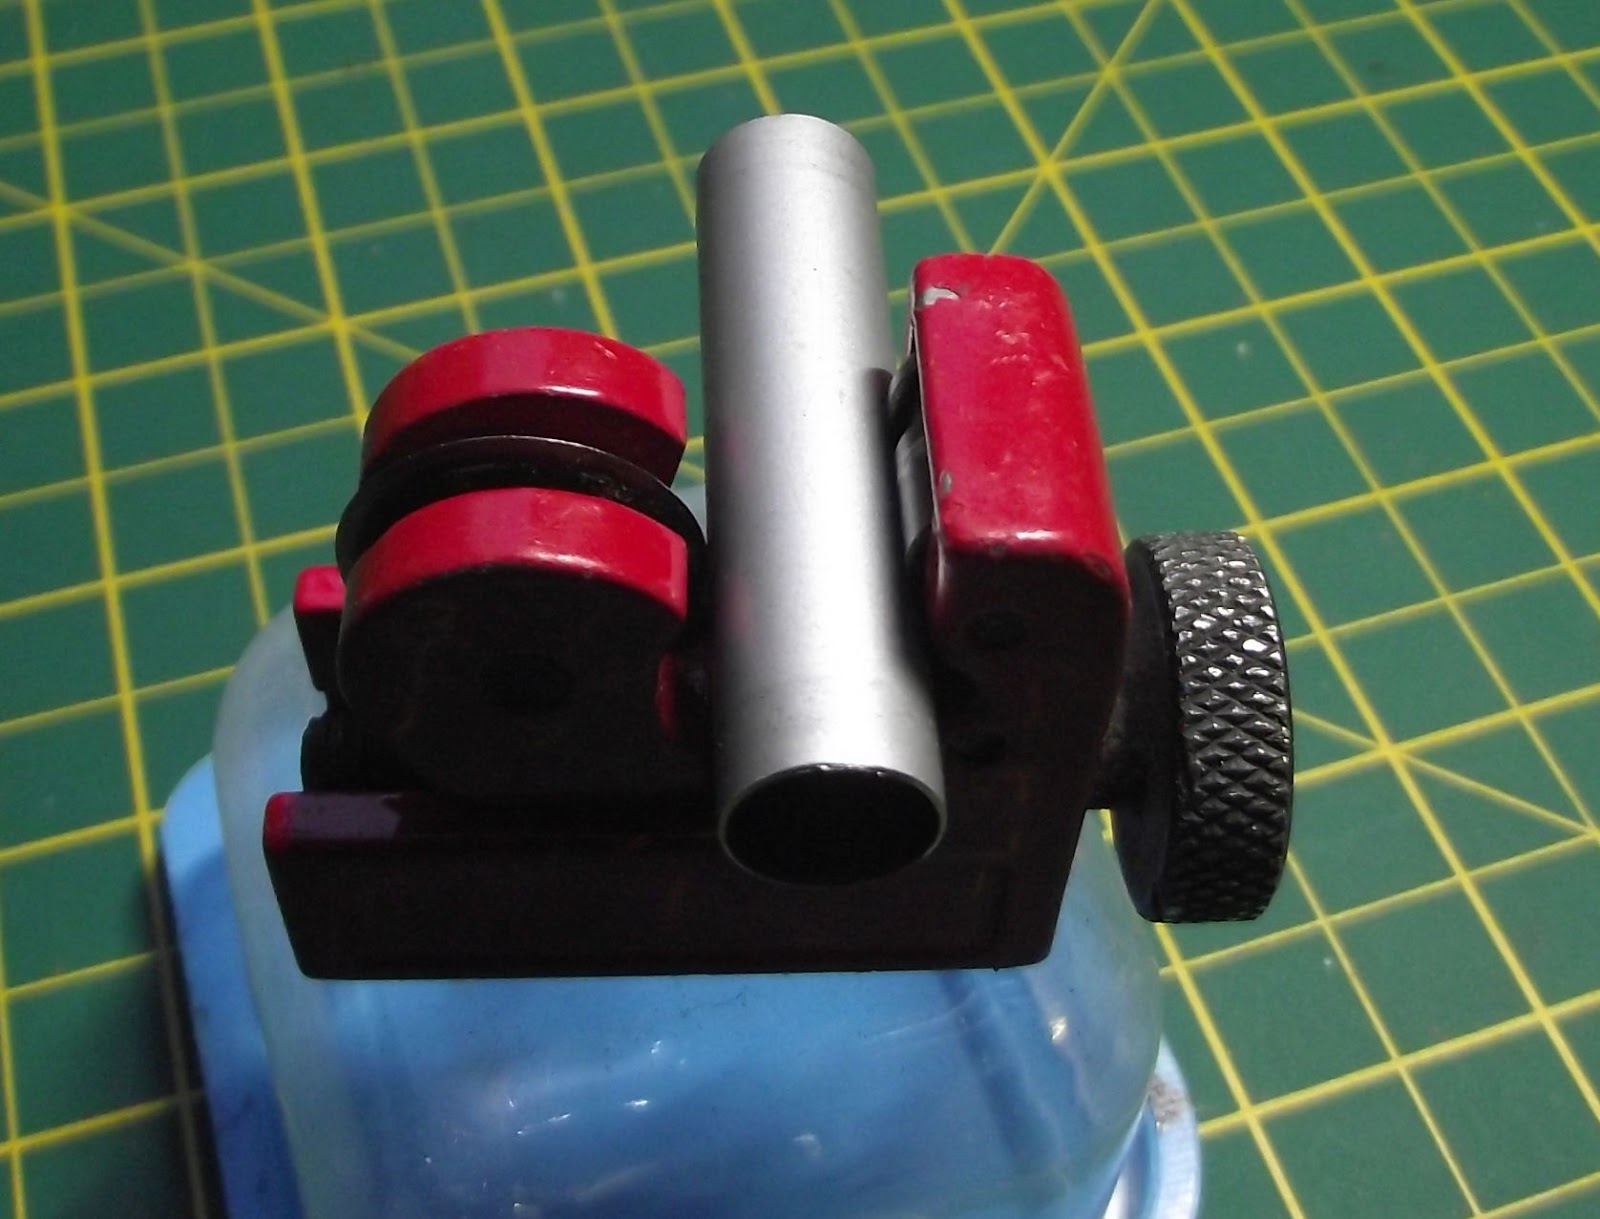
I can't reproduce the scene exactly but wanted to get its flavour. First I made some tanks from the brass barrel of an old promotional pen. I cut them to size with a mini plumber's pipe tool. 


Then I filled the ends with car body filler. 
 I shaped that with a sanding block.
 Next I made some rivet strips using paper and an old bradawl. I wasn't looking for scale accuracy here - just the suggestion so did the rivets freehand.  The rivet strip was glued round the tanks with white glue.  

I used a small square of styrene as a base and added sprue and stuff from my piping scrapbox and some Ratio (UK) pipe fittings to join the tanks up and added any old plastic grot that I came across, it was all going to be rusty and rotting anyway.  
The whole thing was sprayed with a textured sand coloured paint and then I went to town with various acrylic paints to effect a rust finish.  Grasses and weeds completed the look and now it's ready to drop on the layout.
Photograped under LEDs this came out somewhat redder than it actually is


Friday, 13 September 2019

Mining Supplies Depot

Back again!

After a long, enforced absence from model making following an operation on my right wrist that has rendered my hand virtually useless for nearly three months I've been dabbling a bit and started back by building this diorama to go, eventually, on the layout.  I am waiting on some brass tubing so I can construct a hurricane fence to go around the site.


The main structure is from some vintage MDC plastic mouldings and the storage shack at the rear was inspired by the front wall beams which came from some old plastic kit. Starting with this I built up a rear wall from Evergreen scored sheet and cut down some 50 year old Airfix station canopy girders for the roof. The side walls are worked up from styrene strip and the whole thing was assembled with much profanity and fumbling hands.  I wanted a swayback roof so glued on 10 thou plastic sheet which I cut down with a rounded top edge. added the other side which I trimmed to match then glued the whole thing together.  Masking tape and paper were used as tarpaper and a steel (thin card)  patch was added along with some aluminium corrugated iron.

The dynamite store was an old scratchbuilt model that had fallen apart so I rebuilt it to go on here.  The pipe rack was made from plastic strip and a small lattice girder.  Plenty of stock  was added and a couple of Marklin trucks finish the scene.


Here is a selection of views

The trickiest part of the build was the sagging banner on the front wall! It was a combination of adjusting and splicing WordArt text in MS Word and struggling with my hands trying to affix the "rope" made from a strand af sisal twine.


I love those Marklin trucks

The one thing that jars for me on the entire model is that stack of sacks made from balsa covered with a graphic.  It really doesn't matter as mostly it won't be viewable but I won't use paper again. I like 3D details like the plastic sacks in front of it. From now on I will only use graphics for internal decor that can barely be seen through HO scale windows and doors.  And if you can't criticise your own work - who can?


I over-weathered the Bangworth's Dynamite wall poster.  It's one of my favourite creations and doesn't read as well as I'd like.

The Gold Hill signage came from a defunct sample sheet of genuine, vintage signs that I got from the net. Sadly I can't find them anymore and didn't save the original download, which is unlike me. Perhaps I was having a bad hair day!