Progressing
I decided that I wanted to make this a run-down building undergoing some repairs. The kit comes with Campbell corrugated aluminium roofing but I opted for tarpaper instead.
 |
| I pinched an idea from Blogger Stan Knott. I glued the structure to a piece of thin card using double sided tape. This gives a small area that can be pre-landscaped and the card is easy to meld into the existing terrain. Unlike Stan I made the card a random shape which is easier to disguise. Then I anchored the corners of the base card to a piece of plastic so that I could work on it safely. |
 |
| I spread thin white glue on the card base and sprinkled a blend of fine tan grout then hit it with Isopropyl and left it to dry. The hole in the white wall is for an LED. |
 |
| I then added detail and landscaping to the card |
 |
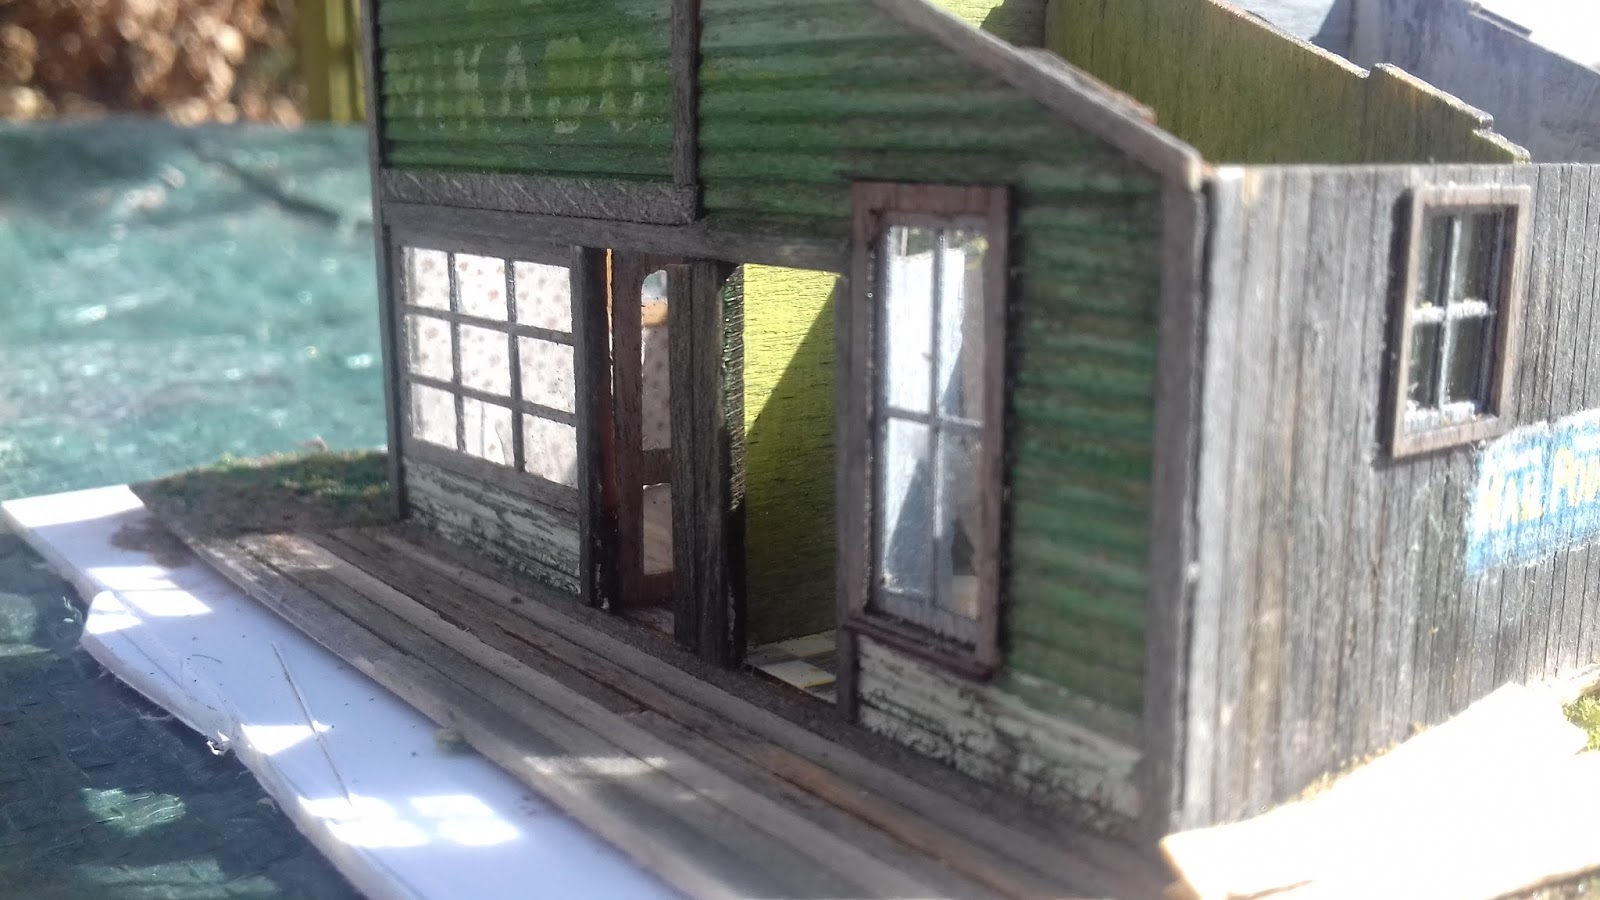
| A broken window with a scattering of microscope slide glass broken up and scattered about, anchored with white glue solution. |
 |
| The tarpaper was made by brushing black shoe dye followed by dust (cement works well for this) onto some thick, handmade, tan coloured paper I had saved from somewhere. Cut into strips and glued on it will be finished with a ridge cap when the roof is applied. That tarpaper is looking too pristine for an old shack. Some distressing work ahead I fear :) |
I will be adding more details outside before I finish.


I see that the roof distressing happened. It looks good, tho the denizens might get a little rain on them in one of the rooms. Maybe they won't care. ;-)
ReplyDeleteThat would be the bar, they didn't care when the place was open and they sure won't care now Graham. I forgot to lean a ladder somewhere, no self respecting builder would be without one.
ReplyDelete