Greeting

 
These pages stem from the start of my loft modelling odyssey up to the great Covid 19 lockdown enforced upon me.  
 
News of developments from 2021 onwards to be found here.  

My Musical Adventures - My other hobby - only for the brave: https://barrykingsbeer.bandcamp.com/releases

Thursday, 10 October 2019

Trail's End - another microscene

While sorting all my bits and pieces I came across an old plastic model of a cart. I felt this could be the basis of a little scenic interlude so pulled out a small piece of plywood and set to. I had a bit of car body filler going spare so did a bit of quick terraforming and then set to work giving the ground some basic cover. The rest is pretty self explanatory - just working in ground foam, rocks and plants etc.


The plywood base and the cart bits


Basic ground cover with a suggestion of an old carriage road

The finished article.


Monday, 7 October 2019

Attention to detail......

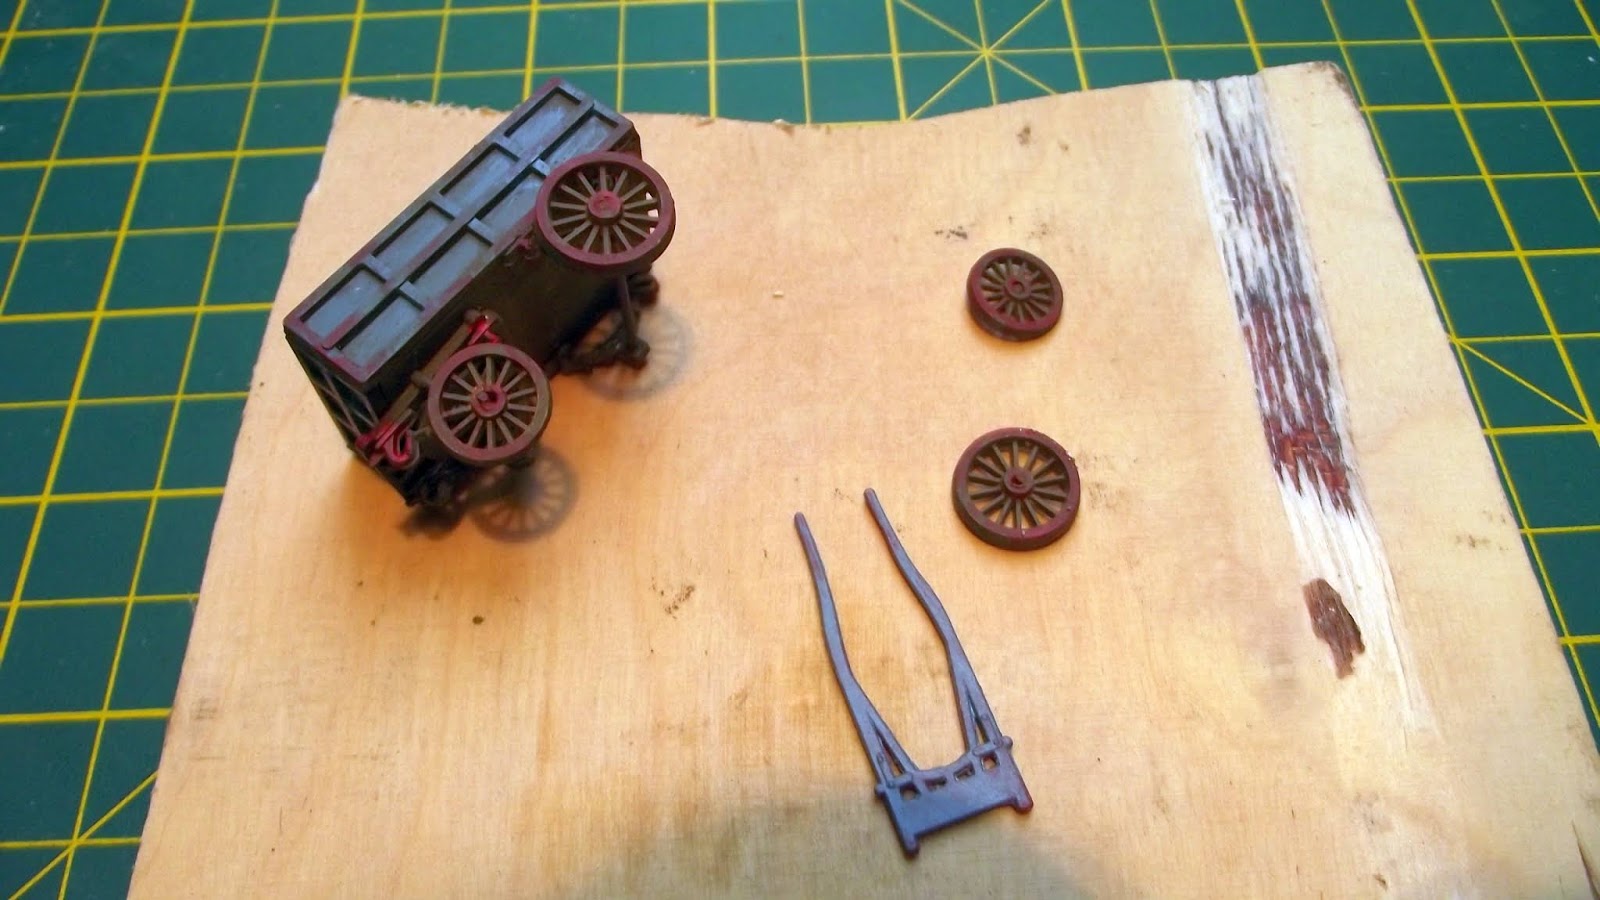
A bit like Mr Sellios I tend to use up detail castings etc at a rate of knots. For years my unfinished details have been nagging at me to attend to them and being limited by my wrist issues I decided to kill a few birds with one stone.
  1. Unearth all those bits of scrap that can be made into industrial clutter and empty all my little boxes and bags with castings/unfinished small kits etc.
  2. Clean up, assemble, prime and paint and store them all where I can get at them easily.
  3. This frees up no end of space for completed details, bulks up my usable details boxes and makes me feel better.
Result!

The first tranche gets the primer treatment

Barrels, sack trucks, luggage etc
Mainly plastic odds and ends and kit bits


Friday, 4 October 2019

Detailed microscene

With an hour to spare and idle hands I decided to make a miniature scene with as much unpaid for scrap as I could.  I found a picture on Google images that said "Do it" so I used that as inspiration. 
I can't reproduce the scene exactly but wanted to get its flavour. First I made some tanks from the brass barrel of an old promotional pen. I cut them to size with a mini plumber's pipe tool. 


Then I filled the ends with car body filler. 
 I shaped that with a sanding block.
 Next I made some rivet strips using paper and an old bradawl. I wasn't looking for scale accuracy here - just the suggestion so did the rivets freehand.  The rivet strip was glued round the tanks with white glue.  

I used a small square of styrene as a base and added sprue and stuff from my piping scrapbox and some Ratio (UK) pipe fittings to join the tanks up and added any old plastic grot that I came across, it was all going to be rusty and rotting anyway.  
The whole thing was sprayed with a textured sand coloured paint and then I went to town with various acrylic paints to effect a rust finish.  Grasses and weeds completed the look and now it's ready to drop on the layout.
Photograped under LEDs this came out somewhat redder than it actually is


Friday, 13 September 2019

Mining Supplies Depot

Back again!

After a long, enforced absence from model making following an operation on my right wrist that has rendered my hand virtually useless for nearly three months I've been dabbling a bit and started back by building this diorama to go, eventually, on the layout.  I am waiting on some brass tubing so I can construct a hurricane fence to go around the site.


The main structure is from some vintage MDC plastic mouldings and the storage shack at the rear was inspired by the front wall beams which came from some old plastic kit. Starting with this I built up a rear wall from Evergreen scored sheet and cut down some 50 year old Airfix station canopy girders for the roof. The side walls are worked up from styrene strip and the whole thing was assembled with much profanity and fumbling hands.  I wanted a swayback roof so glued on 10 thou plastic sheet which I cut down with a rounded top edge. added the other side which I trimmed to match then glued the whole thing together.  Masking tape and paper were used as tarpaper and a steel (thin card)  patch was added along with some aluminium corrugated iron.

The dynamite store was an old scratchbuilt model that had fallen apart so I rebuilt it to go on here.  The pipe rack was made from plastic strip and a small lattice girder.  Plenty of stock  was added and a couple of Marklin trucks finish the scene.


Here is a selection of views

The trickiest part of the build was the sagging banner on the front wall! It was a combination of adjusting and splicing WordArt text in MS Word and struggling with my hands trying to affix the "rope" made from a strand af sisal twine.


I love those Marklin trucks

The one thing that jars for me on the entire model is that stack of sacks made from balsa covered with a graphic.  It really doesn't matter as mostly it won't be viewable but I won't use paper again. I like 3D details like the plastic sacks in front of it. From now on I will only use graphics for internal decor that can barely be seen through HO scale windows and doors.  And if you can't criticise your own work - who can?


I over-weathered the Bangworth's Dynamite wall poster.  It's one of my favourite creations and doesn't read as well as I'd like.

The Gold Hill signage came from a defunct sample sheet of genuine, vintage signs that I got from the net. Sadly I can't find them anymore and didn't save the original download, which is unlike me. Perhaps I was having a bad hair day!

Tuesday, 26 March 2019

Treacle anyone?

Dan's Treacle Mining and Refining

No construction pics for this one. It's a bash of some old (40 plus years?) MDC Roundhouse plastic walls, doors and windows with a few touches of my own. This will connect to the mine outlet for which I've added an interior gallery.  This little structure has partial interior detail and lighting. I put in a lot of time colouring individual stones but the sunlight has washed them out in the pics.


I need to put a bit more glue under the lead flashing.

You can see Dan's (daddy's) coat hanging in the hall. I made this by sawing up and carving an HO body. A gruesome task!

Oh! That big red chimney will need shortening, It stands above the backscene and will be a problem.


Friday, 15 March 2019

A minor diversion 6

Landscaping begins

I finally get to the bit I like, bringing it to life.  The tiny 0-4-0 mechanism arrived today from Japan and it is minute. The Baldwin body I have would dwarf it. I do have an old Eggerbahn loco body that I think I can get to fit. At least I'll be able to put an engineer and fireman inside or probably a lady engineer and firewoman as it's the girls' layout!  The Gaugemaster walk around throttle arrived too so no excuse for not getting the wiring drops in and the track polished and tested.
General overview
Amaco Canyon
Might be a tricky crossing...Albeit a dry landing at the moment.
Station throat and Main Street.  
The rail track will be buried in the street as a tramway here.
Fire Chief Stokes on his eternal rounds
Sarah's Farm

Sadly the above house is too big for the site so I've removed it and replaced with the structure below.  I got it for next to nothing on ebay but can't remember who made it. Nonetheless it's a nice piece of moulding, although the window glazing bars are a trifle thickand deep for scale.


Friday, 8 March 2019

A minor diversion 5

Terraforming

Using thick polyurethane insulation foam offcuts and Sculptamold in home made latex rock moulds, the landscape is taking shape.  There is  the narrow gorge of Amaco Canyon through which the line threads with Mount Simon to the left.  This will be the site of the famous Dan's (Daddy had to make an appearance) Treacle Mine that provides revenue for the RR and opportunity for detail.  There will be a short spur with a small dock and the track then takes the bridge over the deep and treacherous inlet of Troubled Waters before running through tram track at road level to the depot on main Street.  Off to spend the day tomorrow with the girls at Birmingham Symphony Orchestra stuff for kids so no more work here until Sunday.

Amaco Canyon

Mount Simon to the left, the dip on top will be a small dew pond with deer etc drinking.

The bridge over Troubled Waters

Rocks take colour

As I want to depict granite with all its variations I used a base wash of very thin grey acrylic followed by some spots of umber and ochre acrylic spray diluted further with clean water and then, when dry a wash of thin phthalo blue then more ochre.  Then a light grey acrylic dry brushed all over.  It will need further thin washes before I'm happy with the final result but it's going well. The beauty of this method is that the white of the Sculptamold continues to show through as highlights.


I could not resist adding a small arch tunnel for the girls.  Another piece of foam suitably hacked to shape, pinned to the main part with a couple of toothpicks then plaster bandage and Sculptamold. They are just butted together now but will be joined with more Sculptamold when the track has been laid, ballasted and tested.

Looking into Amaco Canyon

The inlet

More granite colouration plus I'm reworking the little shed as the entrance to the treacle mine