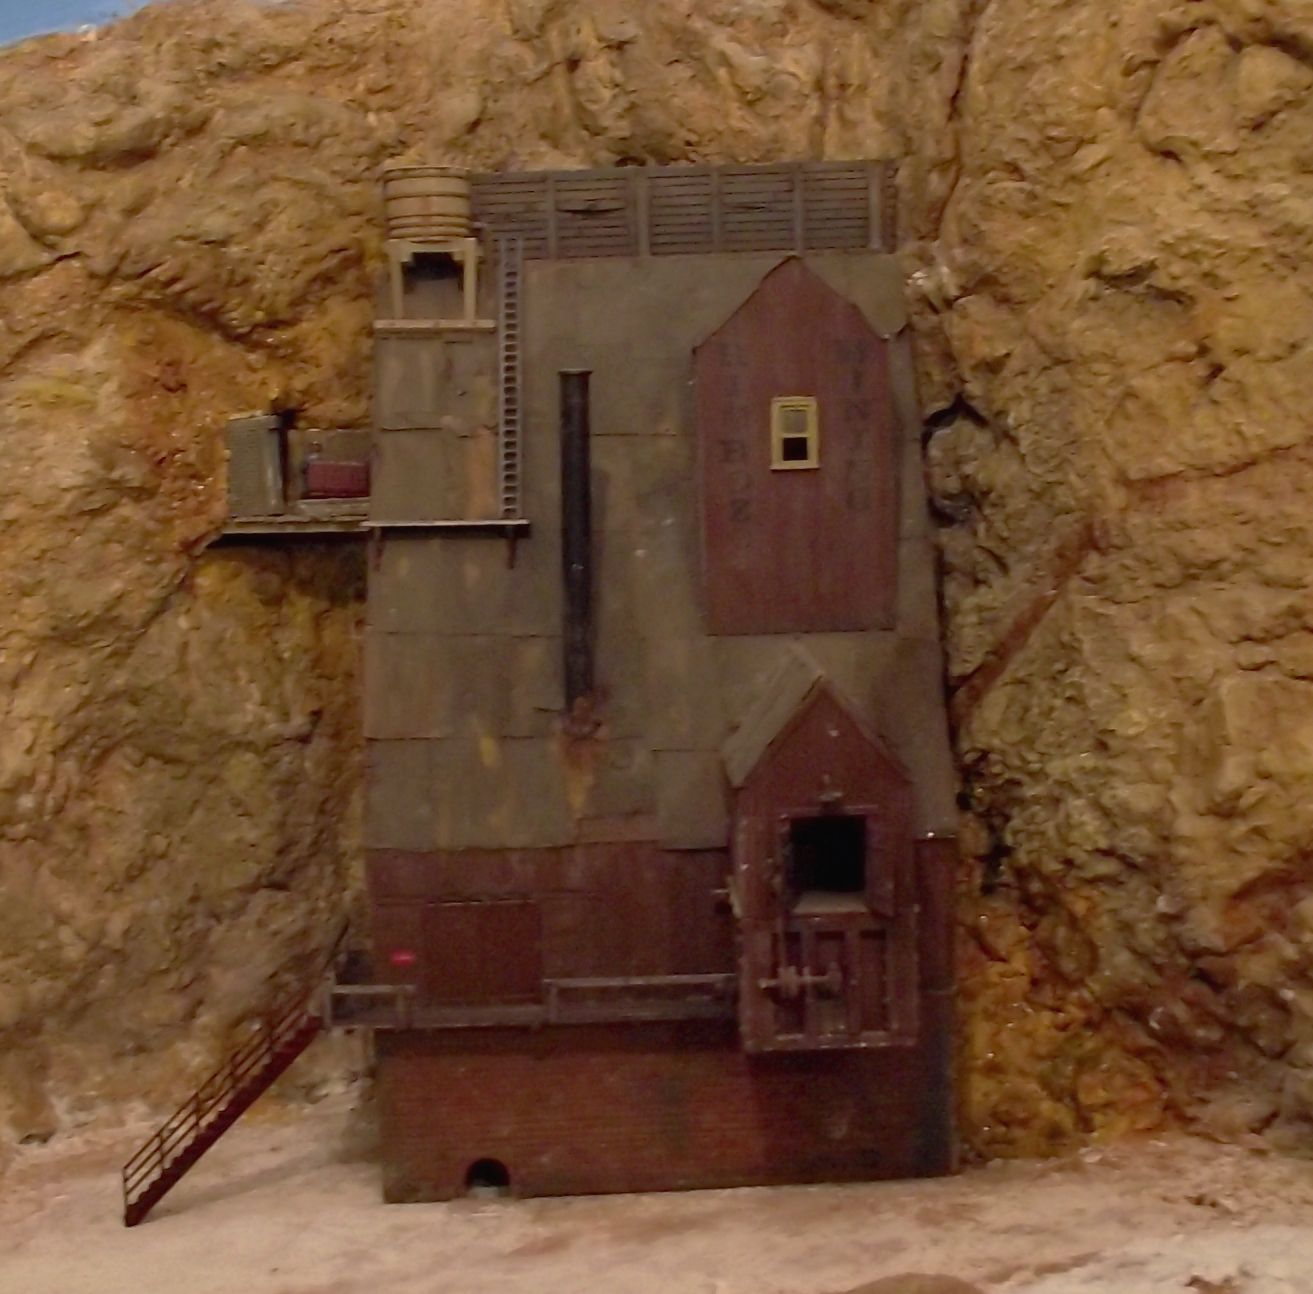
I had a set of mine buildings that I built at the same time as the mine many years ago. Sadly these would not fit the new layout. However I took a look at them, did a bit of deconstructing and have now got two salvaged structures in the scene. Here are some photos with the tramway removed for clarity.
The early years pre 2021 archived here. My freelance adventures in Colorado in Hon3. Buildings, scenery, details and character are my interests with operation well down my priorities. The layout is a scant 8x12 ft so compromises have been made to squeeze in the scenic and building work I love. Influenced by Allen, Olsen and Furlow along with Earl Smallshaw, John Swanson and latterly Sam Swanson. I make no claim to authenticity and retain my tongue firmly in cheek while modelling.
Greeting
These pages stem from the start of my loft modelling odyssey up to the great Covid 19 lockdown enforced upon me.
News of developments from 2021 onwards to be found here.
My Musical Adventures - My other hobby - only for the brave: https://barrykingsbeer.bandcamp.com/releases
Blog archive
Monday, 30 November 2015
Saturday, 28 November 2015
Ore tramway
I built a trestle tramway for the ore taking it from the ore bin on the mine to a projected tipple on the cliffside which will deliver it to rail wagons underneath. I managed to make a false start by building it too high so had to dismantle all the trestles, shorten them and re-assemble.
The next step will be adding an 18 inch tram line but I need to buy the bits for that. I can add some sway braces to the trestles too.
The tramway in position with extra earthworks for support. |
![]() |
Braces added |
![]() |
Pedro Alvarez the Mine' s Chief Engineer opening a crate which he hopes contains a spare trackle valve for the steam room. |
Friday, 27 November 2015
Settling tanks for the mine
To use up what could be visually a dead spot behind the stairs, I decided to build a trio of settling tanks and a plinth to put them on. The tanks were made from plastic tube and bottle caps, Two were clad in scale lumber, the small tank looks like corrugated metal.
Large tank is the rim of some plastic thingy with a cone shaped bottom. The small item is the tip of this cone, sawn off and stuck to a metal frame. it will become a mining junk piece. |
The middle tank has masking tape bands added |
Roof on |
The tanks in situ |
Thursday, 26 November 2015
Saratoga Mine 2
The fun part in all this is getting a seamless fit between the Mine and the side adit and the plaster rock walls. I hacked the adit out with my Bosch magic saw and am now infilling with Sculptamold just roughly slumped on. It's a bit a of a thee dimensional puzzle to put together but hopefully I'll get there in the end.
The site |
The mine, the adit entrance and the rock are three separate items, the puzzle is how to get them all together as one! |
A bit of detail |
I felt I was being too cavalier with the lives of my little plastic miners so I installed a safety railing. |
Monday, 23 November 2015
Saratoga Mine
Many years ago I scratchbuilt a model of Malcolm Furlow's Saratoga Mine from plans in the Gazette. Its original location on a diorama was in a corner, however the corner it's in now is a mirror opposite so I've had to make some changes. There was a set of matching buildings, none of which fits the new location. Oh well...
New support wall installed to raise the mine up. |
Access platforms added |
Rock fence to shield roof |
Fence is angled forwards to catch rock fall. |
Home for the mine |
Trying for size |
Rock fence fitting |
Tailings platform and trestle |
Trestle halved! |
Chute and wall added, tailings pile started |
Tailings pile growing |
Thursday, 19 November 2015
An Ebay bargain transformed
Bargain!
I bought two old Wiking HO scale trucks for a song on Ebay this week and spent a couple of hours transforming them to something useful on the layout. One was a very shiny, bright red Deutsche Post lorry with bonus opening rear doors. The other was a rather nondescript military support wagon of some sort.Post lorry
I dismantled this completely taking care not to break anything important. I took the radiator
off the bonnet and cut and filed away the central core with the Mercedes badge on. I replaced this with an etched metal street drain cover cut down to fit and backed with black paper. The door latch was filed down a bit and the body was masked and painted and had some packages glued inside. I cut down and painted an old Airfix figure for the driver, picked out the central windscreen frame in silver and reassembled. I built a new front fender from plastic. A thinned paper logo for a trucking company and some weathering completed the conversion.Military truck
This was destined for Dan's auto scrapyard. I dismantled this completely keeping the body and chassis filler for spares. I cut out the driver's side window and put a bullet hole in the windscreen. I cut off the radiator for my scrapbox, distressed the body work with my Dremel and lifted up one side of the bonnet (hood). I made an "engine" and battery from scrap and fitted them. A lot of dust and rust completed this little model.
Subscribe to:
Posts (Atom)